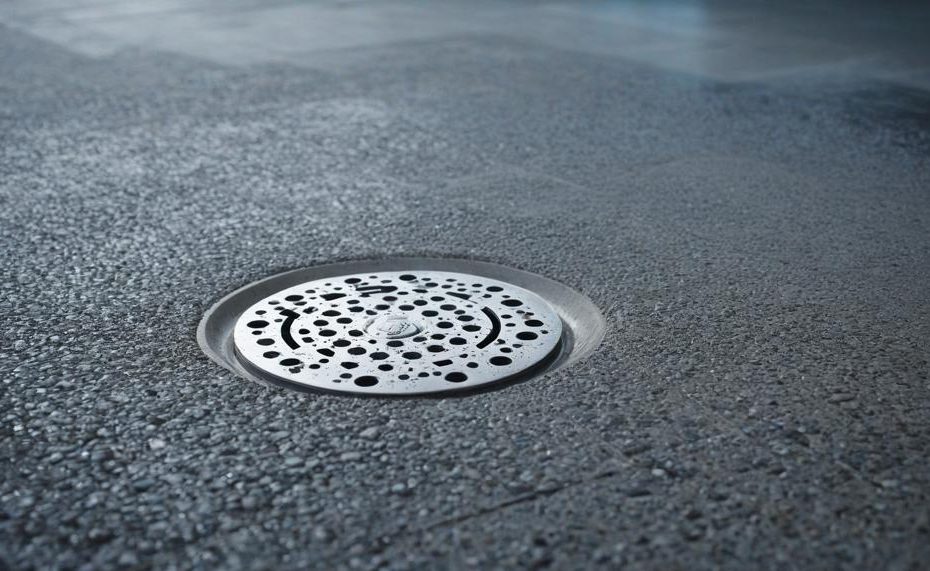
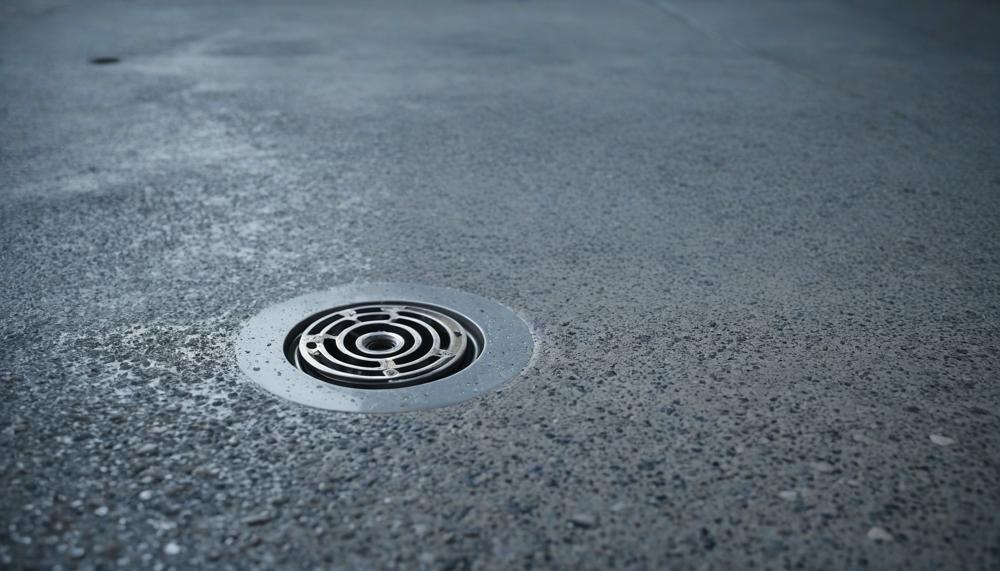
Installing a shower drain in a concrete floor might seem like a job for the pros, but with the right tools and a bit of know-how, it’s a project you can tackle in a few hours. Whether you’re renovating an old bathroom or adding a new shower, this guide will walk you through the process step-by-step.
From selecting the perfect drain to making precise cuts in your concrete floor, we’ve got the essentials covered. You’ll find that with careful planning and execution, this task is more straightforward than you might think.
Contents
- 1 Can You Install a Shower Drain on The Concrete Floor?
- 2 Why Should You Install a Shower Drain on The Concrete Floor?
- 3 The Ultimate Guide on How to Install a Shower Drain in Concrete Floor
- 4 5 Considerations Things When You Need to Install a Shower Drain on Concrete Floor
- 5 Benefits of Install a Shower Drain on a Concrete Floor
- 6 4 Common Mistakes People Make When Trying to Install a Shower Drain on a Concrete Floor
- 7 Conclusion
Key Takeaways:
- Project Simplicity: Installing a shower drain on a concrete floor is a manageable DIY project.
- Tile Removal: Necessary if your concrete floor is already tiled.
- Drain Selection: Opt for a linear drain for better performance.
- Precise Cutting: Use a concrete saw for accurate cuts.
- Secure Installation: Ensure the drain is flush with the floor using screws and, if needed, a hammer.
- Long-term Reliability: Following these steps will lead to a durable and effective shower drain.
Ready to get started? Let’s dive into the details and make sure your shower drain installation is a success.
Can You Install a Shower Drain on The Concrete Floor?
Yes, you can install a shower drain on a concrete floor. Here are the steps to properly do so:
Measure and Mark the Location
Use a level to ensure proper drainage. Mark the spot where the drain will be installed.
Prepare the Concrete Surface
Clean the surface thoroughly. Ensure it is level and free of debris.
Gather Necessary Materials
You’ll need a shower drain kit, concrete mix, trowel, saw, plumber’s putty or sealant, and other tools.
Cut the Designated Area
Using a saw or chisel, cut out the area for the drain. Be cautious not to damage any pipes underneath.
Install the Drain Base
Follow the instructions provided with your kit. Use plumber’s putty or sealant to create a secure seal between the base and concrete.
Pour Concrete Around the Base
Mix and pour concrete around the base. Fill any gaps and smooth out the surface with a trowel. Work quickly as concrete dries fast.
Apply Waterproof Sealant
Use a waterproof sealant around the edges of the drain to prevent water from seeping through the concrete.
Follow Additional Tips
Use adhesive for added strength and ensure a clear and level surface for proper function. Always seal around the drain to prevent water damage and extend its lifespan.
Why Should You Install a Shower Drain on The Concrete Floor?
Installing a shower drain on a concrete floor is crucial for several reasons:
- Effective Water Management: Properly installed drains ensure water is directed away from the shower area, preventing pooling and potential water damage. This is particularly important with concrete floors, which can absorb water and lead to structural issues.
- Prevention of Mold and Mildew: Water that isn’t properly drained can lead to dampness, encouraging mold and mildew growth. These can not only cause health problems but also damage your home’s structure and aesthetics.
- Structural Integrity: Concrete is a porous material. If water penetrates it, the integrity of your floor can be compromised over time. A well-installed drain prevents water from seeping into the concrete, thus maintaining its strength and longevity.
- Ease of Maintenance: Drains help in maintaining a clean shower area by efficiently removing wastewater. This reduces the effort required to clean the shower and keeps it hygienic.
- Cost Efficiency: Knowing how to install a shower drain correctly can save you money on potential repairs due to water damage and mold remediation. It also eliminates the need for professional intervention if issues arise.
- Aesthetic Appeal: A properly installed drain ensures a neat and finished look to your shower area, enhancing the overall appearance and value of your bathroom.
The Ultimate Guide on How to Install a Shower Drain in Concrete Floor
Tools and Materials Needed for Installing a Shower Drain in a Concrete Floor
To ensure a seamless installation of a shower drain in a concrete floor, you’ll need a specific set of tools and materials. Each item plays a crucial role in the process, making it easier to achieve a professional result. Here’s a detailed list:
| Tools | Materials | Description and Usage |
| Trowel | Concrete mix | Used to smooth and level the concrete around the drain area. |
| Saw or chisel | Shower drain kit | Essential for cutting the designated area in the concrete to fit the drain. |
| Protective gear (gloves and goggles) | Plumber’s putty or sealant | Provides safety while working with concrete and other potentially hazardous materials. |
| Measuring tape | Waterproof sealant | Ensures precise measurements for cutting and placing the drain correctly. |
| Level | Silicone or construction adhesive | Helps in making sure the drain is installed at the correct level to prevent water pooling. |
| Bucket and mixing tools | PVC primer and cement (if applicable) | Used for mixing concrete and other necessary adhesives or sealants. |
| Drill with masonry bit | Drain flange (included in kit) | Required for making precise holes in concrete to secure the drain flange. |
Explanation of Each Tool and Material
- Trowel: A flat, handheld tool used to spread and smooth out concrete or adhesive around the drain area, ensuring an even surface.
- Saw or Chisel: These are used to cut through the concrete floor, creating a designated space for the shower drain. A saw is typically faster, while a chisel allows for more precise control.
- Protective Gear (Gloves and Goggles): Essential for safety, these protect your hands and eyes from concrete dust and debris during cutting and mixing.
- Measuring Tape: Accurate measurements are vital for cutting the concrete floor and fitting the drain properly.
- Level: Ensures the shower drain is installed correctly to avoid water pooling, which can lead to water damage and inefficient drainage.
- Bucket and Mixing Tools: Used for mixing the concrete mix and any adhesives or sealants needed for the installation process.
- Drill with Masonry Bit: Necessary for drilling holes in the concrete to secure the drain flange, ensuring a sturdy installation.
- Concrete Mix: A high-quality mix is essential for filling in and leveling the area around the shower drain to provide a solid foundation.
- Shower Drain Kit: Typically includes the drain body, strainer, and flange. Follow the manufacturer’s instructions for proper installation.
- Plumber’s Putty or Sealant: Used to create watertight seals around the drain components to prevent leaks.
- Waterproof Sealant: Applied around the edges of the drain after installation to prevent water seepage and protect the surrounding concrete.
- Silicone or Construction Adhesive: Provides a strong bond for securing the drain flange and other components to the concrete floor.
- PVC Primer and Cement (if applicable): Used for connecting PVC drain pipes securely, ensuring no leaks in the drainage system.
By gathering these tools and materials, you’ll be well-prepared to install a shower drain in a concrete floor effectively.
5 Considerations Things When You Need to Install a Shower Drain on Concrete Floor
When installing a shower drain on a concrete floor, it’s crucial to take several factors into account to ensure a functional and long-lasting installation. Here are the top five considerations:
| Accurate Location and Measurement | Carefully plan the drain’s placement, considering the shower’s layout and any existing plumbing. Accurate measurements prevent misalignment and ensure proper water flow. Guide to Installing Shower Drains. |
| Surface Preparation | Clean the concrete thoroughly to remove debris, dust, and oils. This ensures a strong bond for adhesives and sealants. Check for levelness to avoid drainage issues. |
| Cutting the Concrete | Use appropriate tools like a concrete saw or chisel to cut the drain area. Avoid damaging underlying pipes by checking for existing plumbing before you start. Wear protective gear such as goggles and gloves. |
| Proper Drain Installation | Follow the drain kit instructions meticulously. Typically, this involves securing the drain base with plumber’s putty or sealant. Ensuring a tight seal prevents leaks. Replacing and Installing Shower Drains. |
| Sealing and Waterproofing | Seal around the drain with silicone adhesive and waterproof sealant to prevent water seepage. Verify that the drain is level to facilitate proper water drainage. Knowledge of concrete handling is beneficial. |
Benefits of Install a Shower Drain on a Concrete Floor
Installing a shower drain on a concrete floor offers several distinct advantages compared to other flooring types:
| Durability | Maintenance | Aesthetic Flexibility |
| Concrete is extremely durable and long-lasting, capable of withstanding heavy use without showing significant wear and tear. Unlike tile or wood, it doesn’t crack or warp easily. | Concrete floors are low-maintenance, requiring minimal cleaning and upkeep. They resist mold and mildew better than porous materials like wood or certain types of tiles. | Concrete offers versatility in design, fitting seamlessly into modern, industrial, and even rustic styles. Its sleek, minimalistic look can be customized with stains, stamps, and other finishes. |
| Waterproofing | Cost-Effectiveness | Environmental Considerations |
| When properly sealed, concrete is highly water-resistant, preventing leaks and water damage better than materials like laminate or wood. | Concrete is often more affordable to install and maintain over time compared to high-end tiles or natural stone. Its longevity also translates to fewer replacement costs. | Concrete can be an eco-friendly option. It is often made from local materials, and its durability means less frequent replacements, reducing waste. |
4 Common Mistakes People Make When Trying to Install a Shower Drain on a Concrete Floor
| Mistake | Description | Solution |
| Insufficient Slope | Water pools instead of draining properly. | Ensure a consistent slope of 1/4 inch per foot towards the drain. |
| Using Insufficient Material | Hollow spaces under the drain cause instability and leaks. | Pack enough material around the drain, securing it to the flange. |
| Not Connecting to Flange | Water seeps into the subfloor, causing damage. | Create a watertight seal by firmly adhering the material to the flange. |
| Ignoring Expansion Joints | Concrete cracks due to temperature changes. | Include expansion joints around the shower perimeter. |
Avoiding these mistakes ensures a durable and effective shower drain installation on a concrete floor.
Conclusion
In conclusion, installing a shower drain in a concrete floor is a practical and manageable DIY project with significant benefits for your bathroom’s functionality and longevity.
The process involves several critical steps, including measuring and marking the drain location, preparing and cleaning the concrete surface, gathering necessary materials, and making precise cuts using a concrete saw. Securely installing the drain base with plumber’s putty or sealant, pouring concrete around the base, and applying waterproof sealant ensure a durable and effective installation.
By following the detailed steps outlined, you can ensure a successful installation that saves on future repair costs and keeps your bathroom hygienic and visually appealing.