Dealing with a bad mud job on painted drywall can be incredibly frustrating for any homeowner. Whether you’re staring at unsightly dips, bulges, or uneven patches, it’s a common issue that disrupts the smooth, flawless walls you envision. The good news? You can tackle this problem head-on with a few practical steps and a bit of elbow grease.
Let’s get started with a straightforward guide to restore your walls to their former glory.
Key Takeaways:
- Smooth Out Dips: Apply a second coat of mud to even out depressions.
- Eliminate Bulges: Sand down excess mud for a flat surface.
- Fix Uneven Patches: Replace particularly problematic areas.
- Fill Nail Holes: Use a putty knife to apply drywall compound.
Here’s how you can transform those troublesome spots:
- Identify the Issue: Determine whether the problem is a dip, bulge, or uneven patch.
- Prepare Your Tools: Gather a putty knife, sanding sponge, and drywall compound.
- Apply Drywall Compound: For dips and holes, apply a thin layer of mud and smooth it out.
- Sand the Surface: For bulges, sand the excess mud until the surface is level.
- Retexture and Paint: Use texture spray if needed, and finish with a touch-up paint.
With these steps, you can confidently address any drywall imperfections and achieve a smooth, professional finish without much hassle. Ready to give your walls the makeover they deserve? Let’s dive into the details and get your project underway.
Contents
How to Fix a Bad Mud Job on Painted Drywall
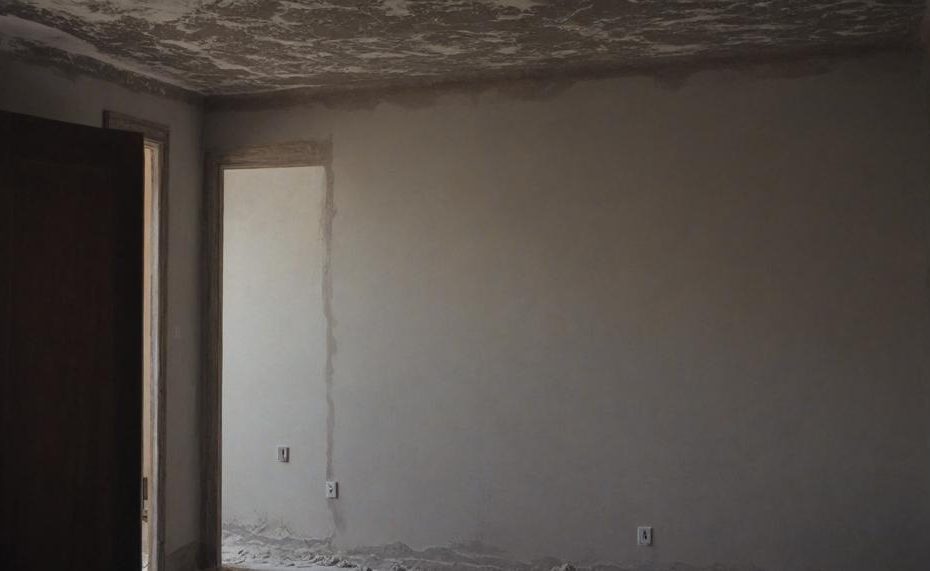
When it comes to repairing a botched mud job on painted drywall, understanding common mistakes and their solutions is key. Here’s how to tackle these issues effectively:
| Common Mistake | Fix | Tip |
| Over-Application of Mud | Sand excess mud, use texture spray, repaint | Work slowly to avoid over-sanding |
| Under-Application of Mud | Apply additional mud, sand smooth | Build up layers gradually |
| Poor Blending | Feather edges, sand lightly | Practice on scrap drywall |
| Incorrect Drying Time | Allow proper drying before painting | Use fan/dehumidifier to speed up drying |
| Uneven Patching | Remove and reapply patch, feather edges | Use drywall patch kit |
| Dirty Tools or Surface | Clean wall and tools before starting | Clean tools during use |
By addressing these common mistakes and applying the right fixes, your painted drywall can be restored to a smooth, even finish, enhancing the beauty and integrity of your home.
Level 5 Skim Coat Application For Fixing Bad Mud Job
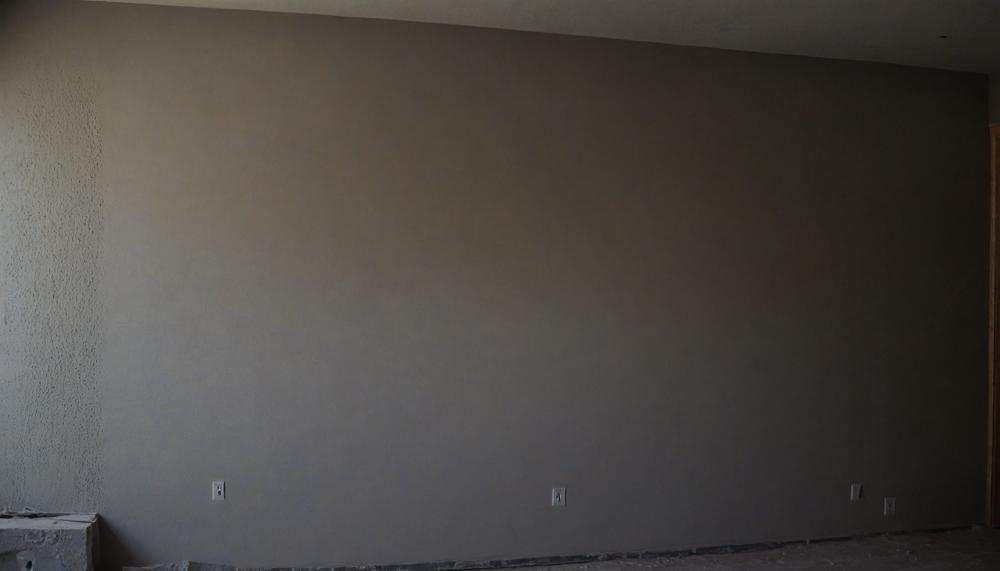
A level 5 skim coat is the highest quality finish achievable on drywall surfaces. It involves applying a thin, smooth layer of joint compound over the entire surface, which ensures a flawless, even finish free from imperfections.
Using a Level 5 Skim Coat to Fix a Bad Mud Job
A bad mud job on painted drywall can exhibit uneven textures, visible seams, or patches that stand out. A level 5 skim coat can effectively remedy these issues. Here’s how it works:
- Preparation: Clean the surface to remove any dust, dirt, or loose material. Ensure the wall is dry before starting.
- Mixing the Compound: Mix joint compound to a creamy consistency. This will be your skim coat material.
- Application: Using a wide taping knife or a roller, apply the skim coat evenly across the entire wall. The aim is to create a uniform layer that covers all existing imperfections.
- Smoothing: Once applied, smooth out the skim coat with a broad knife or a trowel. This step is crucial to eliminate ridges and lines.
- Drying and Sanding: Allow the skim coat to dry completely. Once dry, sand the surface lightly to achieve a perfectly smooth finish.
- Priming and Painting: After sanding, apply a primer suitable for drywall before repainting. This ensures the paint adheres well and provides a uniform appearance.
Advantages of a Level 5 Skim Coat
| Advantage | Description |
| Flawless Finish | Provides the smoothest possible surface, ideal for high-end finishes. |
| Conceals Imperfections | Effectively hides previous mudding errors, seams, and patches. |
| Ideal for Critical Lighting | Reduces the visibility of surface flaws under harsh lighting conditions. |
By following these steps, a level 5 skim coat not only repairs but also enhances the overall appearance of your drywall.
Professional Application Of Skim Coat Compound
The recommended method for applying skim coat compound to fix a bad mud job on painted drywall involves several precise steps:
| Step | Description | Tools Needed |
| Preparation | Clean and prime the wall | Primer, cleaning cloth |
| Mixing | Mix compound to a stiff, yogurt-like consistency | Mixing bucket, drill with paddle attachment |
| Application | Roll compound onto surface, then smooth | Paint roller, wide drywall knife or trowel |
| Drying | Allow to dry for 1-2 hours | None |
| Sanding | Lightly sand to remove imperfections | Fine-grit sandpaper |
| Subsequent Coats | Repeat rolling, smoothing, drying, and sanding | Paint roller, wide drywall knife, sandpaper |
| Final Touches | Final sanding and cleanup | Fine-grit sandpaper, damp cloth |
Hiding And Making Seams Disappear
When fixing a bad mud job on painted drywall, effectively hiding and making seams disappear requires a meticulous approach. Here are detailed steps to achieve a flawless finish:
| Step | Action | Result |
| 1 | Apply a skim coat of joint compound | Seamless, smooth surface |
| 2 | Use quality drywall mud | Better adherence and easier sanding |
| 3 | Prime the wall with PVA primer | Uniform base, hides minor imperfections |
| 4 | Use decorative elements | Disguise seams visually |
| 5 | Proper sanding between coats | Flawless, smooth surface |
| 6 | Paint with care | Perfect, seamless finish |
By following these steps, you can effectively hide and make seams disappear, transforming your drywall from flawed to flawless.
Applying Drywall Mud Over Painted Drywall
Yes, drywall mud can be applied directly over painted drywall, provided certain conditions are met. Here’s a detailed breakdown of the key considerations:
- Type of Paint: Drywall mud adheres well to water-based paints like latex and acrylic. Oil-based stains, alkyd-based paints, and textured finishes are also suitable surfaces.
- Surface Preparation: The painted surface must be clean and free from dirt, dust, and debris. Ensure the paint has cured for at least 30 days to achieve the best adhesion.
- Paint Finish: Avoid using semi-gloss or high-gloss paints as a base for drywall mud. These finishes can result in an uneven surface with bubbles or blisters. A flat or matte finish is ideal for better adhesion and a smoother finish.
- Curing Time: If applying over acrylic paint, allow it to fully cure to prevent future bubbling and cracking.
- Application Process:
- Clean the wall thoroughly.
- Lightly sand the painted surface to create a rough texture for better adhesion.
- Apply a thin coat of drywall mud, ensuring it’s spread evenly.
- Once dried, sand the mud lightly to smooth out any imperfections before painting over it again.
- Benefits of Drywall Mud:
- Adds texture and protection to walls.
- Creates an airtight seal, preventing moisture damage.
- Eases future repairs since it can be painted over if damaged.