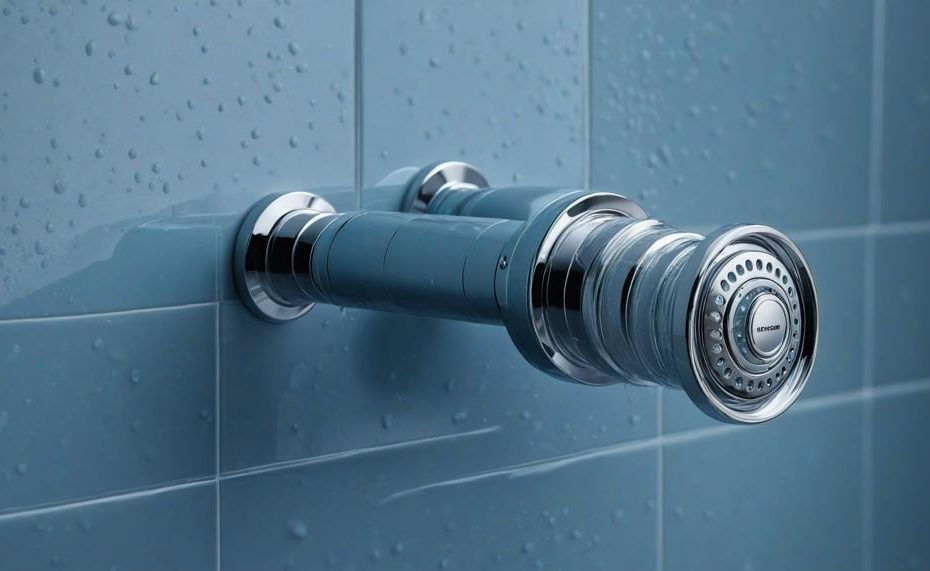
Yes, the optimal distance for a shower valve to protrude from the finished wall is typically between 1 to 2 inches. This measurement strikes a perfect balance, allowing for both aesthetic appeal and practical functionality. Ensuring your shower valve sticks out by this amount makes repairs straightforward while maintaining a balanced and proportional look. Flush-mounted valves, on the other hand, often create challenges during maintenance.
Getting this measurement right is crucial for a seamless shower experience. A valve that sticks out too much or too little can lead to headaches down the line, whether it’s a struggle with leaks or cumbersome repairs. So, whether you’re renovating your bathroom or installing a new shower, paying close attention to this detail can save you a lot of trouble.
Key Takeaways:
- Ideal Protrusion: Shower valves should extend 1-2 inches from the finished wall.
- Ease of Maintenance: This distance ensures easy access for repairs.
- Aesthetic Balance: Achieves a visually pleasing and proportional look.
- Valve Types: Various rough-in valves are available to suit different needs.
- Standard Rough-In Length: Typically 7 inches, with longer options available for specific requirements.
By following this guideline, you’ll ensure both the functionality and beauty of your shower space.
Contents
Shower Valve And Its Importance
The distance of a shower valve from the wall is crucial during installation or remodeling for several key reasons. Ensuring the shower valve protrudes 1-2 inches from the finished wall allows for easy access for repairs and maintenance, enhancing functionality and convenience.
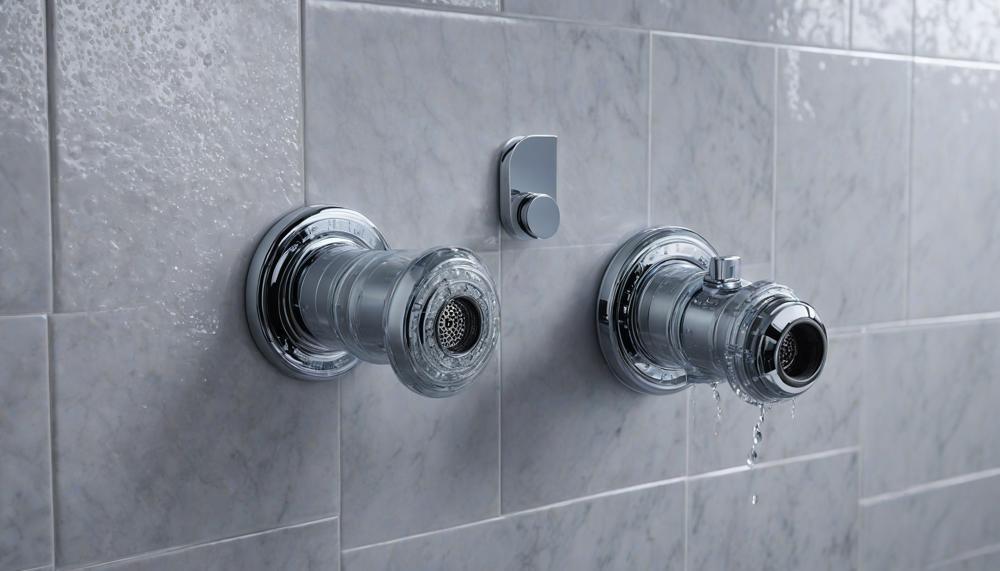
Valves positioned flush with the wall are problematic, making them difficult to service and potentially leading to costly repairs. By allowing the valve to extend slightly, homeowners ensure that the valve is within reach for adjustments and fixes without needing to dismantle significant portions of the wall.
Furthermore, the correct protrusion of the valve facilitates a balanced and aesthetically pleasing look. This minor detail can significantly impact the overall design and usability of the shower space. Early installation of the rough-in valve, which comes in various sizes and pressure ratings, also permits easier customization of finish trims and handles later on. This avoids the need for custom solutions during framing, providing greater flexibility and adaptability in shower design.
| Reason | Explanation | Impact |
| Ease of Maintenance | Protruding 1-2 inches ensures the valve is accessible for repairs. | Reduces repair costs and inconvenience. |
| Aesthetic Balance | Proper distance creates a balanced, proportional look. | Enhances overall bathroom design. |
| Flexibility in Design | Early rough-in valve installation allows for easy customization. | Avoids the need for custom solutions during framing. |
Determining The Ideal Position For The Shower Valve
When determining the ideal position for a shower valve, several crucial factors come into play. These factors ensure the shower valve is both functional and convenient, enhancing your shower experience.
| Factor | Description | Considerations |
| Accessibility | Valve should be within reach | Standard height: 38-48 inches |
| Safety | Prevent accidental scalding | Avoid direct water path |
| Shower Design | Influences valve height and placement | Rain showers vs. body showers |
| Plumbing Codes | Local regulations | Compliance is crucial |
| Personal Preferences | Desired aesthetic and functionality | Adjust based on user needs |
| Other Users’ Needs | Accommodate different users | Adjustable valves for flexibility |
| Drop-Ear Elbow Placement | Proper alignment for water flow | Measure height accurately |
By considering these factors, you can ensure that the shower valve is positioned optimally, providing both convenience and safety for all users.
Measuring And Installing The Shower Valve
To properly measure and install a shower valve ensuring it is the correct distance from the wall, follow these steps:
| Step | Action | Description |
| 1 | Use Template | Place the manufacturer’s template on the wall to determine the correct installation depth. |
| 2 | Measure Without Template | Assemble the trim and measure from the wall surface to the mounting holes if the template is unavailable. |
| 3 | Install Supply Piping | Position supply piping based on the final installation depth of the valve. |
| 4 | Use Plaster Ground | For thick walls, use a plaster ground to ensure alignment, positioned flush with the finished wall surface. |
| 5 | Ensure Proper Height | Confirm the valve height allows for proper trim installation and shower functionality. |
Common Mistakes To Avoid
When installing a shower valve, many DIY enthusiasts and even some professionals can stumble upon a few common pitfalls. Understanding these mistakes and knowing how to sidestep them is key to a successful installation. Here are some of the most prevalent errors and tips to avoid them:
| Mistake | Explanation | Avoidance Tips |
| Incorrect Installation | Improper fitting of the valve can lead to leaks and inefficient water flow. | Follow the manufacturer’s instructions meticulously. Consider watching tutorial videos or consulting with a professional if unsure. |
| Improper Valve Height | Placing the valve too high or too low affects the user experience and functionality. | Measure accurately according to the height of users and the intended final position of the showerhead. Typically, the valve should be around 48 inches from the floor. |
| Plumbing Connections | Poor connections can cause leaks and water damage. | Use appropriate fittings and ensure connections are tight but not overly tightened, which can cause damage. Use plumber’s tape on threaded connections for a secure seal. |
| Ignoring the Template | Skipping the template or measuring incorrectly can lead to improper fitting and rework. | Always use the manufacturer’s template or measure carefully without it to ensure accurate installation. Double-check measurements before cutting or drilling. |
| Not Testing for Leaks | Failing to test for leaks before finishing walls can result in hidden water damage. | After installing the valve, turn on the water and check all connections for leaks. Use a flashlight to inspect hard-to-see areas. |
| Skipping Instructions | Assuming installation steps are universal can lead to overlooking specific requirements. | Each shower valve model can have unique installation steps. Read the manufacturer’s manual carefully for any specific instructions or requirements. |
Key Tips to Remember:
- Plan and Measure: Take your time to plan the installation and measure everything accurately.
- Use Quality Materials: Investing in good quality valves and plumbing materials can prevent issues down the line.
- Consult Professionals: When in doubt, don’t hesitate to seek advice from experienced plumbers or consult online resources.
By paying close attention to these common mistakes and taking steps to avoid them, you can ensure a smooth and successful shower valve installation.
Troubleshooting And Adjustments
To troubleshoot and adjust the distance of your shower valve from the wall, follow these steps:
Measure the Distance:
Ensure the valve protrudes 1 to 2 inches from the finished wall. This is the recommended distance for ease of repairs and maintenance.
Check for Flush Issues:
Valves positioned flush to the wall can be problematic for servicing. If your valve is flush, it might require adjustment.
Tighten Loose Screws:
If your valve is loose, simply tightening the screws might solve the issue.
Replace Cartridges:
If the valve is leaking or not functioning properly, replacing the cartridge could be a simple fix. Make sure to turn off the water supply before doing so.
Use Extension Kits:
If the valve is too recessed, consider using an extension kit. These kits can provide the necessary distance from the wall.
Consult Manufacturer Instructions:
Always refer to the manufacturer’s instructions for specific guidance on your valve model.
Hire a Professional:
If adjustments seem complicated or you’re unsure, hiring a professional plumber is a wise choice.
Conclusion
Achieving the ideal balance between aesthetics and functionality in your shower begins with the proper installation of the shower valve. A shower valve protruding 1-2 inches from the finished wall is optimal, providing easy access for repairs while maintaining a sleek, proportional look. Flush-mounted valves, though visually appealing, can complicate maintenance, leading to unnecessary headaches.
Ensuring this ideal protrusion offers several advantages. It simplifies repairs, reducing both the time and cost involved. This slight extension also ensures that the valve is conveniently within reach for adjustments, enhancing the overall usability of your shower. Additionally, this distance complements the overall design of the bathroom, creating a harmonious and visually pleasing environment.
Proper installation requires attention to detail from the outset. Using manufacturer templates or careful measurements ensures the valve sits perfectly, aligning with the intended design and plumbing requirements. By adhering to this guideline, homeowners can enjoy a shower space that is not only functional but also beautifully balanced.
Incorporating these insights into your renovation or installation project ensures a shower that meets both practical needs and aesthetic aspirations.