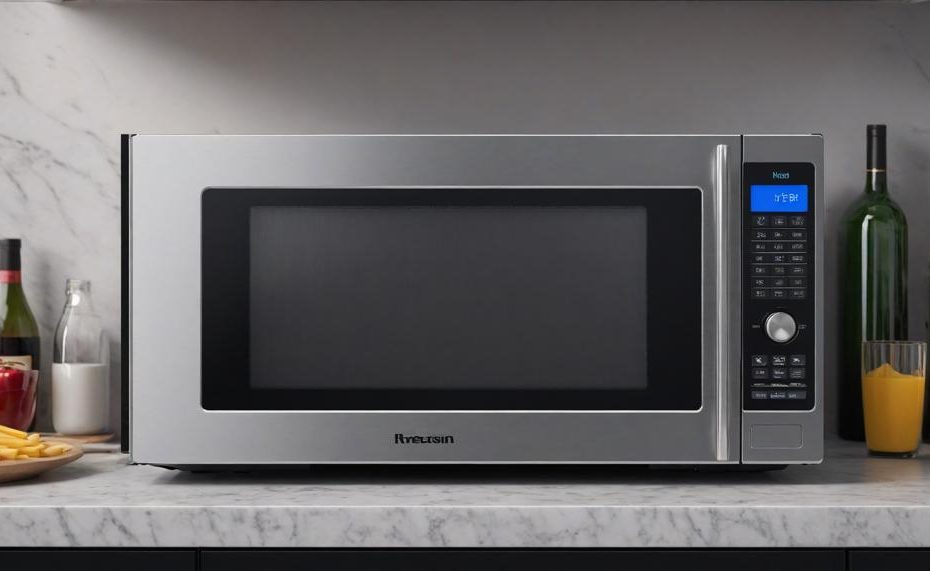
The straightforward answer is Yes—it’s perfectly okay for your microwave to extend beyond your cabinets, typically by 5 inches or more. This setup ensures the door and handle are easily accessible and prevents potential overheating by allowing proper ventilation.
Here’s why this matters:
- Safety First: Proper ventilation is critical for preventing overheating and maintaining the microwave’s efficiency.
- Ease of Use: A microwave that extends past the cabinets provides better access to the handle and door, making it easier to open and close.
- Standard Depth: Over-the-range microwaves are generally 15-16 inches deep, while standard upper kitchen cabinets are only 12 inches deep. A microwave extending a bit beyond the cabinets is normal and often necessary.
Key Takeaways:
- Microwave Depth: Typically 15-16 inches, meaning it will naturally stick out from standard 12-inch cabinets.
- Extension: Aim for about 5 inches or more for easy access and ventilation.
- Installation: Properly secure the microwave using a mounting bracket and screws for stability and functionality.
By keeping these points in mind, you’ll ensure your microwave is not only functional but also integrated seamlessly into your kitchen space.
Contents
Should the bottom of the microwave be flush with cabinets?
The short answer is yes, the bottom of the microwave should ideally be flush with the cabinets. Here are the benefits of having a microwave that is flush with your cabinets:
| Benefit | Description |
| Sleek and Modern Look | Creating a flush alignment between the microwave and cabinets provides a seamless, integrated appearance, enhancing the aesthetic appeal of your kitchen. This modern look is visually pleasing and can increase the overall value of your home. |
| Space Efficiency | A flush-mounted microwave saves valuable counter and storage space. By integrating the microwave into the cabinetry, you free up countertop space for other uses, making your kitchen more functional and organized. |
| Easy to Clean | With no gaps or spaces around the microwave, there are fewer areas for dirt and food particles to accumulate. This makes cleaning easier and helps maintain a more hygienic kitchen environment. |
| Improved Accessibility | A microwave that is flush with the cabinets is often positioned at a more convenient height. This reduces the need to bend down or reach up, making it more accessible and user-friendly, especially for individuals with mobility issues. |
| Proper Ventilation | When installed correctly, a flush microwave can have proper ventilation, which is crucial for preventing overheating and fire risks. Ensuring that the ventilation is adequate helps maintain the appliance’s efficiency and safety. |
For optimal installation, it’s important to ensure your upper kitchen cabinets are deep enough—typically 12 inches where the microwave is placed. Over-the-range microwaves are generally 15-16 inches deep, with the handle and door extending about 5 inches beyond the cabinets. This setup allows for both functional and aesthetic benefits, enhancing the overall kitchen experience.
How to Prepare for Microwave Installation? (2 step Guide)

When preparing for microwave installation, focusing on two essential steps ensures a successful and safe process:
Measure and Prepare the Installation Area
Proper measurements and preparation of the installation area are crucial. Start by clearing any clutter and ensuring the surface is level. Check that the upper kitchen cabinets, typically 12 inches deep, can accommodate the microwave’s depth of 15-16 inches.
Verify that the distance from the range top to the cabinet above is at least 30 inches, especially for gas stoves. Ensuring these measurements helps the microwave fit properly and function effectively.
| Action | Details | Why Important |
| Clear Installation Area | Remove any items and debris from the space | Ensures a safe and clean working environment |
| Check Measurements | Ensure cabinets and range top distances are correct | Ensures microwave fits and operates correctly |
| Level Surface | Use a level to check the installation surface | Prevents tilting and operational issues |
Install the Mounting Plate and Electrical Connections
Securely mount the mounting plate according to the microwave’s instructions. Align the fan with the exhaust duct and install a vent damper for ventilation.
Properly connect the electrical wiring to prevent hazards. Use protective mats and wood filler blocks as needed to protect surfaces and ensure a secure fit. This step is vital for the microwave’s stability and safety.
| Action | Details | Why Important |
| Mounting Plate Installation | Align and secure with screws | Ensures stability and support for the microwave |
| Electrical Connections | Follow the manual for wiring | Prevents electrical hazards and ensures functionality |
| Install Vent Damper | Align with exhaust duct | Provides proper ventilation |
These steps not only ensure the microwave fits and functions well but also safeguard against potential hazards.
DIY Guide to Install an over-the-range microwave to make it stick out perfectly
To ensure your over-the-range microwave is installed at the perfect depth and sticks out correctly from your cabinets, follow these detailed steps:
| Step | Details | Notes |
| Measure | Surrounding cabinets: 40″, Over-the-range cabinet: 20″, Microwave: 10″ | Ensure accurate measurements |
| Position | Install 5″ below bottom of 40″ cabinets | Check for level and alignment |
| Prepare Kit | Back template, mounting plate, through-the-cabinet bolts | Follow kit instructions |
| Install | Mark, drill, attach mounting plate, secure microwave | Ensure secure and level installation |
| Connect | Plug in and secure electrical connections | Avoid dangling cords |
| Final Check | Ensure even stick out and alignment | Adjust if necessary |
Following these steps will help you achieve a professional and aesthetically pleasing installation of your over-the-range microwave, ensuring it sticks out perfectly from your cabinets.
Installation of The Over-The-Range Microwave Oven
The recommended guidelines for installing an over-the-range microwave oven in relation to the height and depth of the cabinets are crucial to ensure safety and functionality.
Height Guidelines:
- Clearance Above Range: Ensure there is a clearance of 13 to 16 inches between the top of the range and the bottom of the microwave. This space allows for adequate ventilation and safe cooking.
- Overall Height from Floor: The top of the microwave should be approximately 66 inches from the floor. This standard height ensures that the microwave is easily accessible while maintaining proper clearance above the cooking surface.
Depth Guidelines:
- Cabinet Depth: The depth of the upper cabinets should match the depth of the microwave, typically around 12 to 13 inches. This ensures that the microwave is flush with the cabinets for a seamless look.
- Microwave Depth: Most over-the-range microwaves are designed to be between 15 to 16 inches deep. This depth accommodates standard cabinet designs and provides enough space for ventilation and installation.
Clearance Guidelines:
- Side Clearance: If installing near a wall, ensure there is at least 6 inches of clearance on the left side to allow the microwave door to open fully.
| Guideline | Measurement | Purpose |
| Clearance Above Range | 13 to 16 inches | Provides ventilation and safety |
| Height from Floor | 66 inches | Ensures accessibility and proper clearance |
| Cabinet Depth | 12 to 13 inches | Aligns microwave with cabinets |
| Microwave Depth | 15 to 16 inches | Accommodates standard cabinet designs |
| Side Clearance | 6 inches | Allows full door opening |
Conclusion
When installing a microwave above your range, ensuring it extends about 5 inches beyond your cabinets is essential for both functionality and aesthetics. This slight protrusion facilitates easy access to the microwave door and handle while ensuring adequate ventilation to prevent overheating. Over-the-range microwaves typically have a depth of 15-16 inches, while standard upper kitchen cabinets are only 12 inches deep, making some extension inevitable.
A properly installed microwave should be flush with the bottom of the cabinets, creating a sleek, modern look that enhances your kitchen’s overall design. This alignment not only maximizes space efficiency but also simplifies cleaning and improves accessibility, particularly for individuals with mobility issues. Ensuring proper ventilation is crucial to maintaining the microwave’s efficiency and safety.
To achieve a successful installation, start by preparing the installation area with accurate measurements and a level surface. Secure the microwave using a mounting bracket and connect the electrical wiring correctly.