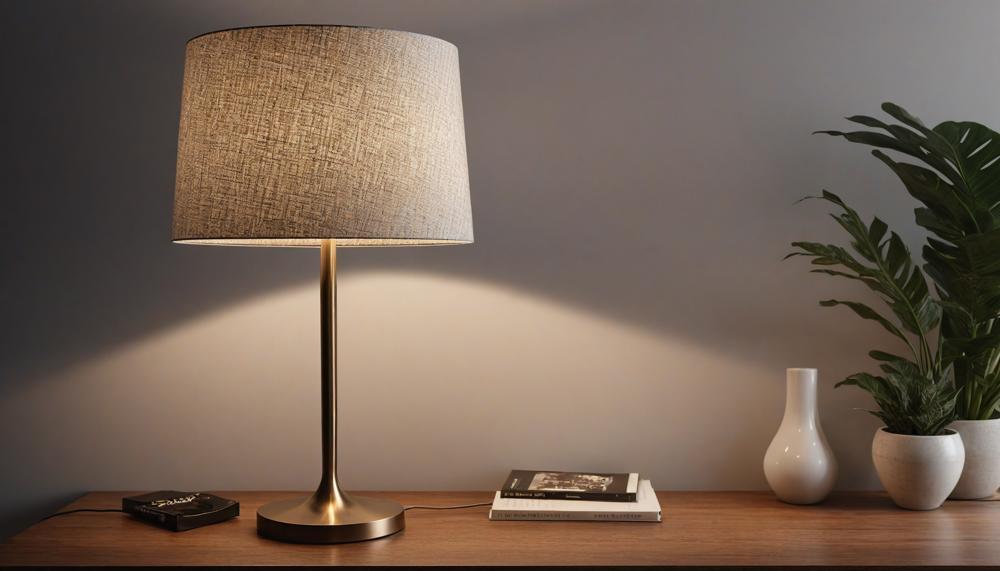
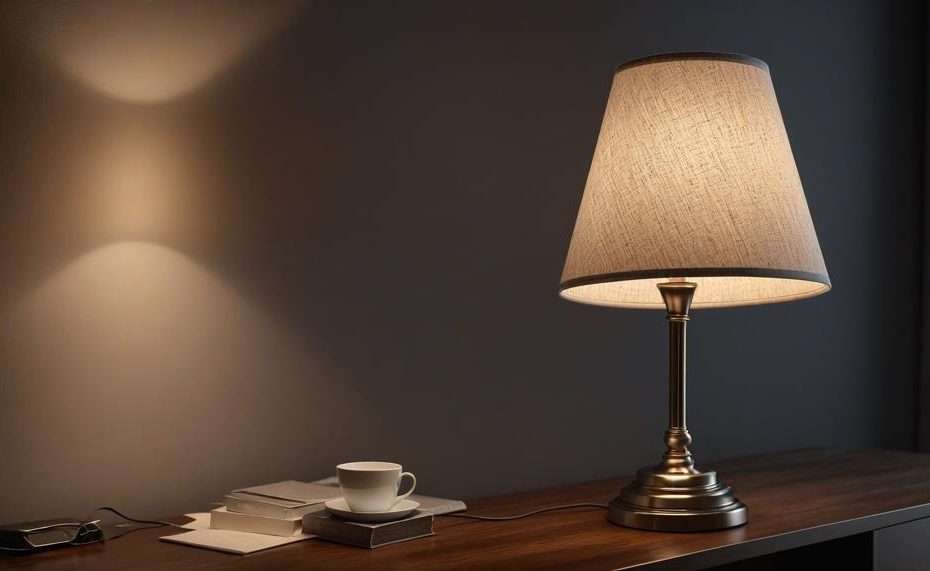
Is your lamp looking a little lopsided lately? A tilting lamp shade can be a real eyesore, but fixing it is easier than you might think. With just a few simple steps, you can have your lamp standing tall and straight again in no time. Whether it’s a loose harp saddle or a bent shade causing the issue, you can get things back in shape without much hassle.
Here’s a quick guide to help you straighten out that pesky tilt and bring balance back to your lighting.
Contents
Key Takeaways:
- Remove and Adjust: Start by removing the shade, harp saddle, and harp to identify and address the root cause of the tilt.
- Twist and Align: Twist the saddle until the shade is even and properly aligned.
- Secure Components: Reattach the harp and shade securely to prevent future tilting.
- Quick Fixes: Loosen and retighten the shade as part of the adjustment process.
- Proactive Prevention: Addressing the tilt early can prevent worsening over time.
No need to live with a crooked lamp any longer. With these straightforward steps, you’ll have your lamp looking perfectly balanced and back to its best in no time.
Assessing the Damage
To determine the cause of a tilting lamp shade before attempting to fix it, follow these detailed steps:
Remove the Lamp Shade:
Carefully take off the lamp shade from the lamp. This will give you access to the components underneath.
Inspect the Harp Saddle and Harp:
Detach the harp saddle and harp from the lamp base. These parts support the shade and are often the culprits behind a tilting lamp shade.
Check for Loose or Bent Parts:
Examine the harp saddle for any looseness. A loose harp saddle can cause the shade to tilt. Additionally, check if the shade itself is bent or warped.

Align the Saddle:
Twist the harp saddle gently until it is properly aligned and straight. This realignment often fixes the tilt issue.
Reassemble and Test:
Reattach the harp and harp saddle securely. Place the lamp shade back on and ensure it is stable and even.
Final Adjustment:
If the shade remains wobbly, repeat the process to ensure all parts are correctly aligned and tightened.
Tightening Loose Fabric
To tighten loose fabric on a lamp shade without damaging the fabric or the structure, follow these steps:
Examine and Clean the Shade:
Inspect the lamp shade thoroughly for any loose areas.
Clean the fabric gently with a soft brush to remove any dust or debris.
Reattach Loose Fabric:
For areas that have come unglued, use a fabric glue. Apply a thin layer of glue on the loose edges and press the fabric back into place.
Hold the fabric taut for a few minutes to ensure it adheres properly. Use clothespins or binder clips to keep the fabric in place until the glue dries completely.
Reinforce the Seams:
If the seams are loose, use a needle and thread to carefully sew them back together. Choose a thread that matches the color of the fabric.
Sew small, tight stitches to avoid causing further damage.
Steam the Fabric:
Use a handheld steamer to gently steam the fabric. This will help to shrink the fabric slightly, tightening it without causing damage.
Hold the steamer a few inches away from the shade and move it continuously to avoid soaking any one area.
Use Spray Starch:
Apply spray starch to the inside of the shade. This will stiffen the fabric, making it appear tighter and more structured.
Allow the shade to dry completely before reattaching it to the lamp.
Materials Needed:
| Item | Description | Usage |
| Fabric Glue | Strong adhesive suitable for fabric | Reattach loose fabric edges |
| Needle and Thread | Thread matching the fabric color | Reinforce loose seams |
| Handheld Steamer | Small steamer for fabric | Shrink and tighten fabric |
| Spray Starch | Starch solution in a spray can | Stiffen the fabric from inside |
| Clothespins/Binder Clips | Clips to hold fabric in place | Hold fabric until glue dries |
By following these steps, you can effectively tighten loose fabric on a lamp shade, ensuring a smooth and neat appearance without compromising the integrity of the shade.
Repairing Tears
To repair tears in a lamp shade, follow these detailed steps:
| Step | Action | Details |
| 1 | Clean the Lamp Shade | Use a vacuum with a soft brush attachment to remove dust and dirt. |
| 2 | Examine the Damage | Identify if the tear is on a seam or in the middle of the shade. |
| 3 | Repair Side Seams | Open seam, apply glue, join edges, clamp, and let dry. |
| 4 | Repair Torn Shades | Cut onionskin paper, apply glue, place patch, and reinforce. |
Replacing the Frame
To replace the frame of a tilting lamp shade, follow these detailed steps:
| Step | Description | Tips |
| 1 | Remove the Shade | Be gentle to avoid damage. |
| 2 | Unscrew Harp Saddle and Harp | Handle with care to maintain parts integrity. |
| 3 | Reposition the Saddle | Twist until aligned with the base. |
| 4 | Check for Alignment | Ensure all components are secure. |
| 5 | Reattach the Shade | Make sure the shade is straight. |
Cleaning and Maintenance
You should clean and maintain your lampshade weekly to prevent it from tilting. Regular dusting keeps dust and spiderwebs at bay, ensuring the lampshade remains balanced and free from excess weight that can cause it to tilt.
Additionally, evaluate the shade at least four times a year to determine if a deep clean is needed, depending on factors like air quality and the location of the lamp.
Cleaning Frequency and Steps
| Action | Frequency | Details |
| Dusting | Weekly | Use a soft cloth or duster to remove dust and spiderwebs from the surface. |
| Evaluation | Quarterly | Inspect the lampshade for dirt, stains, or discoloration to decide if a deep clean is necessary. |
| Deep Cleaning | Varies | Submerge in soapy water for 10 minutes, rotate every 10 minutes, and wipe with a microfiber cloth. |
Environmental Considerations
Airborne grease, cigarette tar, fireplace smoke, ash, and excessive dust can significantly affect the condition of your lampshade.
If your lampshade is in an environment with these elements, you may need to clean it more frequently to maintain its appearance and stability.
Conclusion
Straightening a tilting lamp shade can be quick and easy with the right approach. Start by carefully removing the shade, harp saddle, and harp to identify any loose or bent parts causing the tilt. Gently twist the harp saddle to realign it properly. Once the saddle is straight, securely reattach the harp and shade, ensuring all components are tight to prevent future tilting.
If the shade itself is warped, consider temporary props like folded paper or coins to balance it. For loose fabric, a touch of fabric glue, a needle and thread, or a handheld steamer can help restore its original tautness and appearance. Applying spray starch to the inside of the shade can also provide added stability.
By addressing these issues promptly, you can maintain a balanced and visually appealing lamp, avoiding the eyesore of a crooked shade.


