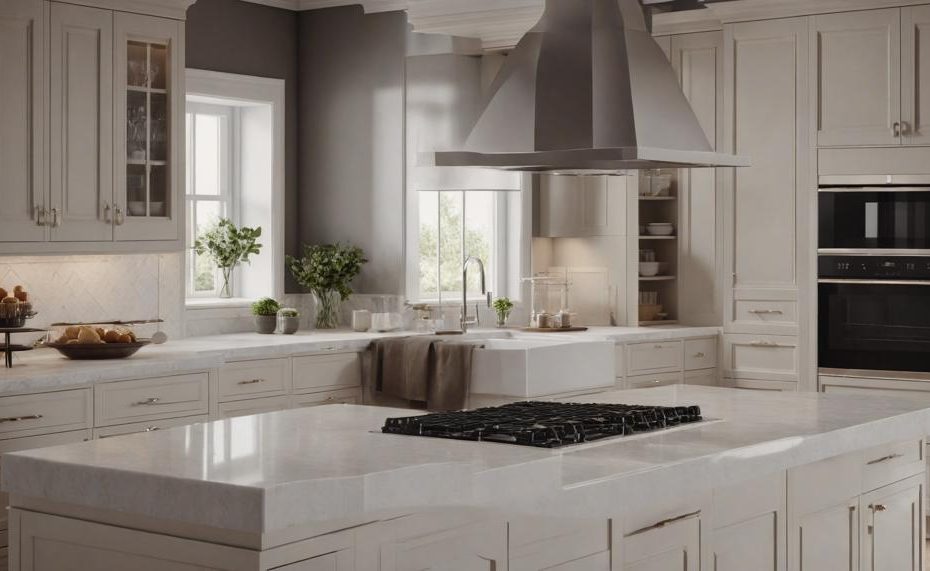
Transforming your kitchen with a fresh coat of paint on the cabinets can bring new life to your space without a major renovation. But the challenge is getting that sleek, professional look without the dreaded brush marks.
Fortunately, it’s entirely achievable with a bit of know-how and the right approach.
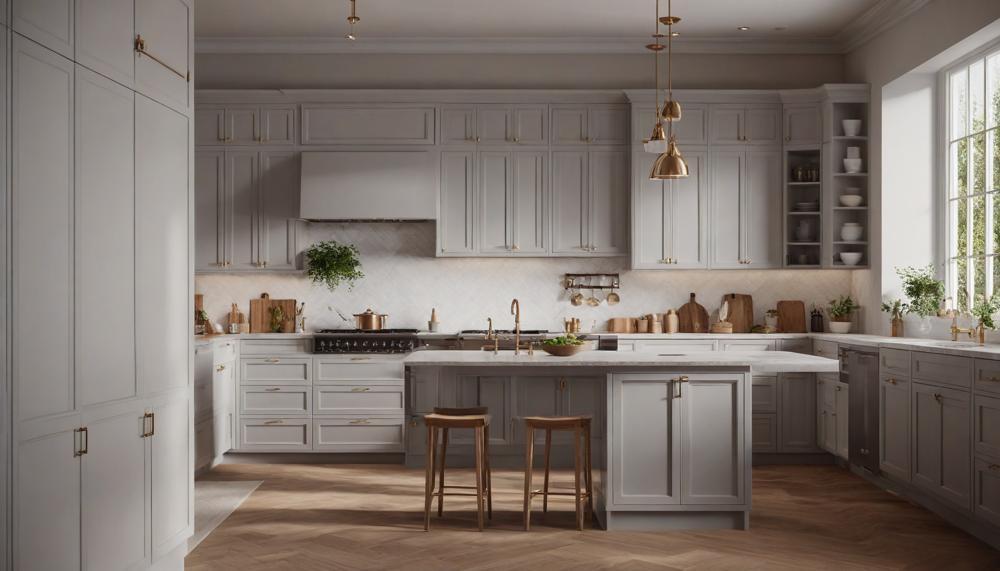
Here’s how to paint kitchen cabinets without brush marks, ensuring a flawless finish:
- Clean Surfaces Thoroughly: Start by removing any grease, dust, or debris. This step is crucial for ensuring the paint adheres properly.
- Sand for Smoothness: Lightly sand the cabinets with 100 or 150-grit sandpaper to remove any gloss and create a better surface for the paint to grip.
- Use a Microfiber Roller: A high-quality microfiber roller helps eliminate brush strokes and prevents pooling and drips, especially in intricate areas.
- Prime Wisely: If your cabinets are in good condition, you might skip sanding, but using a good primer can make all the difference.
- Fill Imperfections: For any dents or blemishes, use a filler and sand these spots smooth before painting.
By following these tips, you can achieve beautifully painted kitchen cabinets that look like they were done by a pro. Get ready to enjoy a fresh, modern kitchen without the hefty price tag.
Contents
What Causes Brush Strokes After Painting?
Brush strokes appear on painted surfaces due to various factors, including the consistency of the paint, the type of brush used, and the painting technique. Here’s a detailed breakdown of why they occur and how to avoid them when painting kitchen cabinets:
Causes of Brush Strokes
- Paint Consistency: Thick or improperly mixed paint often leads to visible brush strokes. Thin layers dry faster and distribute more evenly.
- Brush Quality: Low-quality brushes shed bristles and do not hold paint well, causing uneven application.
- Painting Technique: Applying too much pressure, overworking the paint, or not following the grain can result in streaks.
Tips to Avoid Brush Strokes When Painting Kitchen Cabinets
| Step | Details | Recommendations |
| Preparation | Ensure the surface is clean and smooth. Sanding is crucial to remove old finishes and rough spots. | Use 100 or 150-grit sandpaper to prep the surface. Clean thoroughly to remove dust and grease. |
| Paint Selection | Choose the right type of paint and ensure it is properly mixed. | Opt for high-quality, self-leveling paint. Thin it slightly if too thick. |
| Brush and Roller Choice | Use high-quality brushes and rollers for application. | Invest in a good synthetic-bristle brush and a microfiber roller. The roller helps in large areas, reducing strokes. |
| Application Technique | Apply thin, even coats and follow the wood grain. | Avoid over-brushing. Let each coat dry completely before applying the next. |
| Finishing | Smooth out any imperfections between coats. | Lightly sand between coats with fine-grit sandpaper. Wipe down with a tack cloth. |
The Best Way to Paint Cabinets: Brush or Roller?
When it comes to painting kitchen cabinets, both brushes and rollers offer unique advantages and drawbacks. Here’s a breakdown to help you decide:
| Tool | Pros | Cons |
| Brush |
|
|
| Roller |
|
|
Best Method for Avoiding Brush Marks: To minimise brush marks on your cabinets, opt for a high-density foam roller. These rollers deliver a smooth, professional finish by evenly distributing the paint and reducing visible streaks.
For detailed areas and edges, complement the roller with a high-quality angled brush. Ensure the paint is of suitable consistency and apply multiple thin coats, allowing proper drying time between layers.
How to Paint Kitchen Cabinets Without Brush Marks
Achieving a pristine, brush mark-free finish on kitchen cabinets involves a blend of meticulous preparation, the right tools, and precise application methods. Here’s a detailed breakdown:
Preparation
- Clean Thoroughly: Ensure all cabinet surfaces are free of grease, dust, and debris using a degreaser or a mix of water and TSP (trisodium phosphate).
- Sand Smoothly: Use 100-150 grit sandpaper to sand the cabinets, focusing on removing gloss and creating a surface the primer can adhere to.
- Fill Imperfections: Apply wood filler to dents and blemishes, then sand the filled areas smooth.
| Step | Tool | Details |
| Cleaning | Degreaser, Sponge | Remove grease and dust |
| Sanding | 100-150 grit Sandpaper | Smooth the surface and remove gloss |
| Filling | Wood Filler, Putty Knife | Fill dents and sand smooth |
Priming
- Select a High-Quality Primer: Use a bonding primer that suits your cabinet material. This step ensures better adhesion and a smoother base.
- Sand Between Coats: After the primer dries, lightly sand with 220-grit sandpaper to eliminate any brush marks or raised grain.
Painting
- Use Self-Leveling Paint: Opt for self-leveling enamel paint, which spreads out as it dries, minimizing brush strokes. Popular choices include Benjamin Moore’s Advance or Sherwin-Williams’ ProClassic.
- Apply Thin Coats: Apply multiple thin coats instead of one thick coat. Thin layers dry more evenly and reduce the chance of brush marks.
- Utilize the Right Tools: A microfiber roller is ideal for larger surfaces, while a high-quality synthetic brush works well for edges and details. Rollers create a smoother finish, especially on flat surfaces.
- Work in Sections: Paint one section at a time, maintaining a wet edge to prevent visible brush marks from dried overlaps.
Finishing Touches
- Final Sanding: Once the paint is fully dry, lightly sand with 320-grit sandpaper if needed for extra smoothness.
- Protective Coating: Apply a clear polyurethane coat if extra durability is desired, especially in high-traffic areas. Use a spray can or a foam brush for application.
Tips and Best Practices
- Maintain a Clean Workspace: Dust and particles can mar the finish. Work in a clean area and use tack cloths to wipe surfaces before painting.
- Ventilation: Ensure proper ventilation during painting and drying to avoid fume build-up and ensure proper curing.
- Temperature and Humidity: Paint in mild temperatures and moderate humidity to prevent paint from drying too fast or too slow, which can affect the smoothness.
By following these steps, your kitchen cabinets can achieve a smooth, professional-grade finish free from unsightly brush marks.
How to Paint Kitchen Cabinets Without Sanding
Painting kitchen cabinets without sanding is a practical way to refresh your space. Here are some effective methods:
| Method | Description | Benefit |
| Deglossing | Use liquid deglosser to remove glossy finish | Ensures paint adherence, simplifies preparation |
| Mineral Spirits and Abrasive Pad | Clean with mineral spirits and a rough sponge | Removes grime, roughens surface |
| Cabinet Painting Kits | Includes deglosser, bond coat, topcoat | Professional finish, all-in-one solution |
| Chalk Paint | Adheres well without sanding | Easy to use, vintage look |
| TSP Cleaner | Powerful cleaner for grime removal | Creates paint-ready surface |
| Adhesion Primer | Primer designed for glossy surfaces | Solid paint base |
Each method offers a unique approach to painting kitchen cabinets without sanding. Choose the one that best suits your project needs and desired finish.
How to Eliminate Brush Marks on Cabinets
To avoid brush marks when painting your kitchen cabinets, follow these detailed steps:
Preparation is Key
- Clean Thoroughly: Remove all grease, dust, and debris from the cabinet surfaces using a degreaser or mild soap solution.
- Sand the Surface: Sand the cabinets with 100 or 150-grit sandpaper to remove any gloss and create a smooth surface for better paint adhesion.
- Fill Imperfections: Use wood filler for any dents or blemishes, then sand smooth once dried.
Choose the Right Tools and Materials
- Self-Leveling Enamel Paint: Opt for self-leveling enamel paint rather than standard wall paint. This type of paint spreads out evenly as it dries, reducing the appearance of brush marks.
- High-Quality Brushes and Rollers: Use high-quality synthetic brushes for detailed work and microfiber rollers for larger surfaces. A smaller brush can help in tight areas to avoid overpainting.
Application Techniques
- Prime the Surface: Apply a good-quality primer to ensure proper paint adhesion. Sand lightly between coats of primer to ensure a smooth base.
- Thin Coats: Apply the paint in thin, even coats. Thick coats are more likely to show brush marks.
- Single Direction Strokes: Paint in a single direction and avoid back-and-forth motions which can create uneven layers and brush marks.
- Use a Roller: For flat surfaces, use a microfiber roller which helps in achieving a smooth finish without brush marks. Roll in one direction to avoid texture inconsistencies.
- Avoid Overworking: Do not overwork the paint. Once applied, let it settle and level itself.
Finishing Touches
- Light Sanding Between Coats: Once the first coat is dry, lightly sand it with fine-grit sandpaper (220 grit) and wipe away the dust before applying subsequent coats.
- Top Coat: Consider applying a clear topcoat for added protection and a smoother finish.
Painting Techniques for a Smooth Finish
Achieving a smooth, professional-looking finish on kitchen cabinets requires meticulous preparation, the right tools, and precise techniques. Here are essential tips to help you get that perfect finish:
Select the Right Paint
- Use non-yellowing and self-leveling paint to ensure a durable, smooth finish. These paints spread out evenly as they dry, reducing the appearance of brush strokes and roller marks.
- High-quality brands like Sherwin-Williams or Benjamin Moore offer specialised cabinet paints.
Proper Preparation
- Clean Thoroughly: Remove all grease, dirt, and grime using a degreaser or a mixture of water and vinegar. This step is crucial to ensure paint adheres properly.
- Sand Smooth: Sand the cabinets with 120-grit sandpaper to remove old finish and smooth out imperfections. Follow with a finer 300-400 grit for a silky surface.
- Fill Grain: For wood with a prominent grain, use a grain filler to create a uniform surface before painting.
Choose Your Application Tools
- Paint Sprayer: Ideal for achieving a flawless finish without brush or roller marks. Practice using the sprayer to control the flow and avoid drips.
- Foam Rollers and Brushes: Foam rollers are excellent for large, flat surfaces, while high-quality brushes like Purdy or Americana Decor work well for trim and detailed areas.
Painting Techniques
- Primer Application: Start with a high-adhesion primer to ensure paint sticks well. Sand lightly after priming for an extra smooth base.
- Layering Coats: Apply multiple thin coats of paint rather than one thick coat. This prevents drips and helps the paint dry smoothly. Allow each coat to dry completely before sanding lightly and applying the next one.
- Final Coat Touch-Up: For an ultra-smooth finish, use a damp brush to lightly run over the final coat of paint. This helps eliminate any remaining brush marks or imperfections.
Drying and Curing
- Proper Drying: Allow adequate drying time between coats according to the paint manufacturer’s instructions to prevent smudging and ensure a solid finish.
- Full Cure: Cabinets should be allowed to cure fully before heavy use to ensure durability and prevent the paint from peeling or chipping.
Conclusion
Achieving a flawless finish when painting kitchen cabinets is all about precision and the right technique. To avoid brush marks and get that professional look, start by meticulously cleaning your cabinets to remove any grease or dust, ensuring the paint adheres properly. Lightly sand the surfaces with 100 or 150-grit sandpaper to create a smooth base. A high-quality microfiber roller is your best friend for large surfaces, while a top-notch synthetic brush handles edges and intricate details well.
Choosing the right paint is crucial. Opt for self-leveling enamel paint, which spreads evenly and reduces visible strokes. Apply thin, even coats, allowing ample drying time between each to maintain a smooth finish. Primer is essential, even if you skip sanding; it ensures better adhesion and fewer coats of paint needed.
Pay attention to your environment. Paint in a clean, dust-free, well-ventilated area, and allow each coat to dry thoroughly before the next. For added durability, consider a clear protective coating after the final layer of paint.
